Here's what Christmas is looking like at my house! 


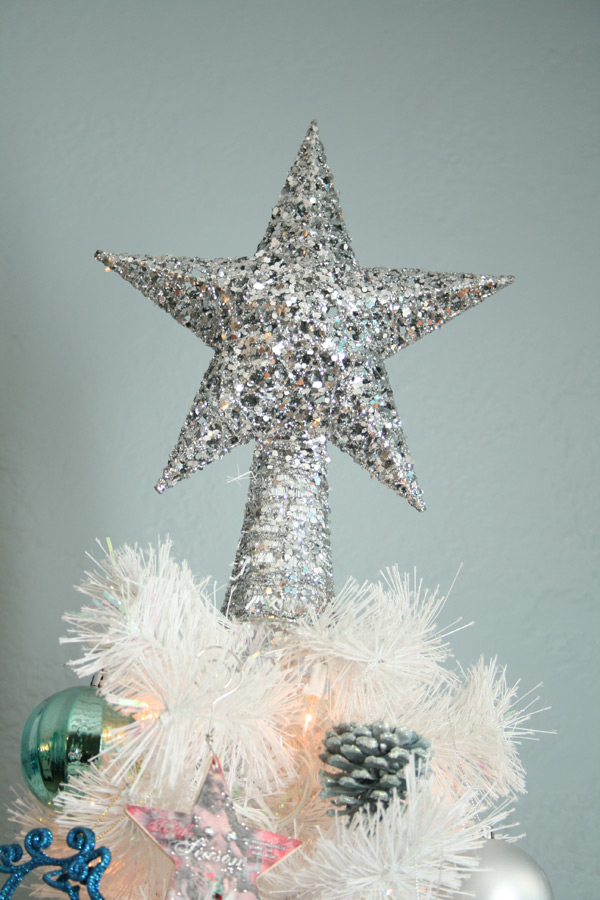
Star from Big Lots (Thanks Mom!)

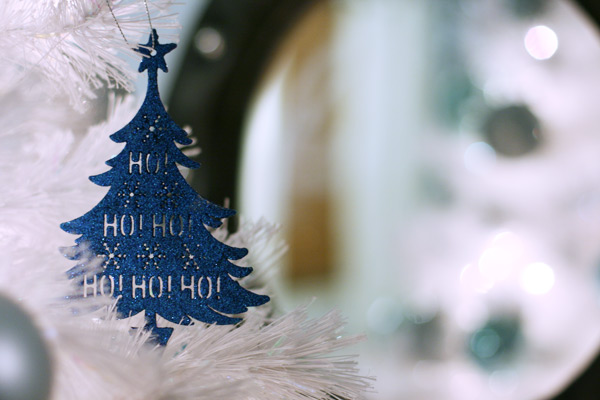
Tree & Ornaments from Target (last year)
 Wreath from Marc's

 Who's a pretty boy? Tyson!
 I spray painted these deer. My mom got them from Glenn's Surplus Store in Shelby, OH. They were a brown/black color.

 Ornaments from Old Time Pottery.
 Davey got me this owl for Xmas!
 Jar from Marshall's. Owl from Marshalls that I spray painted silver.
 Trees & Bows & Garland from Marc's.
 Frosted Wine Bottle w/ bottom cut out for candle. It was a party gift from our friend's wedding last Fall.
 Glitter Star!
 Mmmmkkk
 Lantern from Ikea.
 Painted deer.
 I love how the tree reflects in the glass of the door.
 Reindeer ornaments were a gift from a co-worker (Target I think). Snowflakes were from the dollar bin at Target last year and Icicles and Glittery Acorns were from K-mart this year. M & K's were from the dollar bin at Target this year.
It's taken a few years to gather all the things to decorate my house for christmas. **Update** We opened up presents early and Mikey got me a canon speedlite flash for my camera, so I just had to test it out on the puppies! You can actually SEE Dante now. Lol. Please excuse his bone guts on his chest and his wet beard from drinking water. He did not prep for this photoshoot.


 She was being weird and wouldn't look at me.
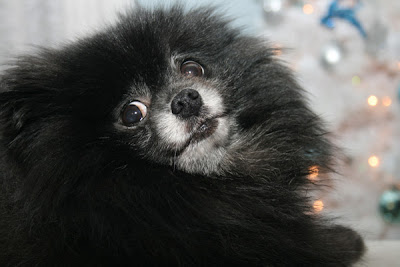 Maybe she didn't like the flash?
 Kiki's passed out on the couch sideways. Too cute.
 **Update** We opened up presents early and Mikey got me a canon speedlite flash for my camera, so I just had to test it out on the puppies! You can actually SEE Dante now. Lol. Please excuse his bone guts on his chest and his wet beard from drinking water. He did not prep for this photoshoot.

The beautiful Kiki

 She was being weird and wouldn't look at me.
 Maybe she didn't like the flash?
Happy Holidays everyone!


